Sunday, October 31, 2010

Happy Halloween!

I hope everyone is having a great night whether taking your little ones out, shelling out to neighbourhood kids or just enjoying a Sunday evening. We've had a pretty good turn out so far, about 40 kids. We had no idea what to expect since this is our first Halloween in this neighbourhood so I'm pretty pleased. Lots of leftover candy but I'd rather have too much than not enough. And who knows, it's only 8:30 so it might not be over yet!

The chocolate was just not on my side this weekend and so the chocolate bones I mentioned yesterday just never worked out. I didn't scrap my cupcakes all together but I did change my plan. My end product was strawberry vanilla cupcakes with vanilla buttercream icing and some black sprinkles and candy corn to make them "Halloween". For anyone wondering what I was going to do with the chocolate bones, you'll just have to wait until I try again next year!


Want to know the best part about Halloween being over for another year? We're one step closer to Christmas!!
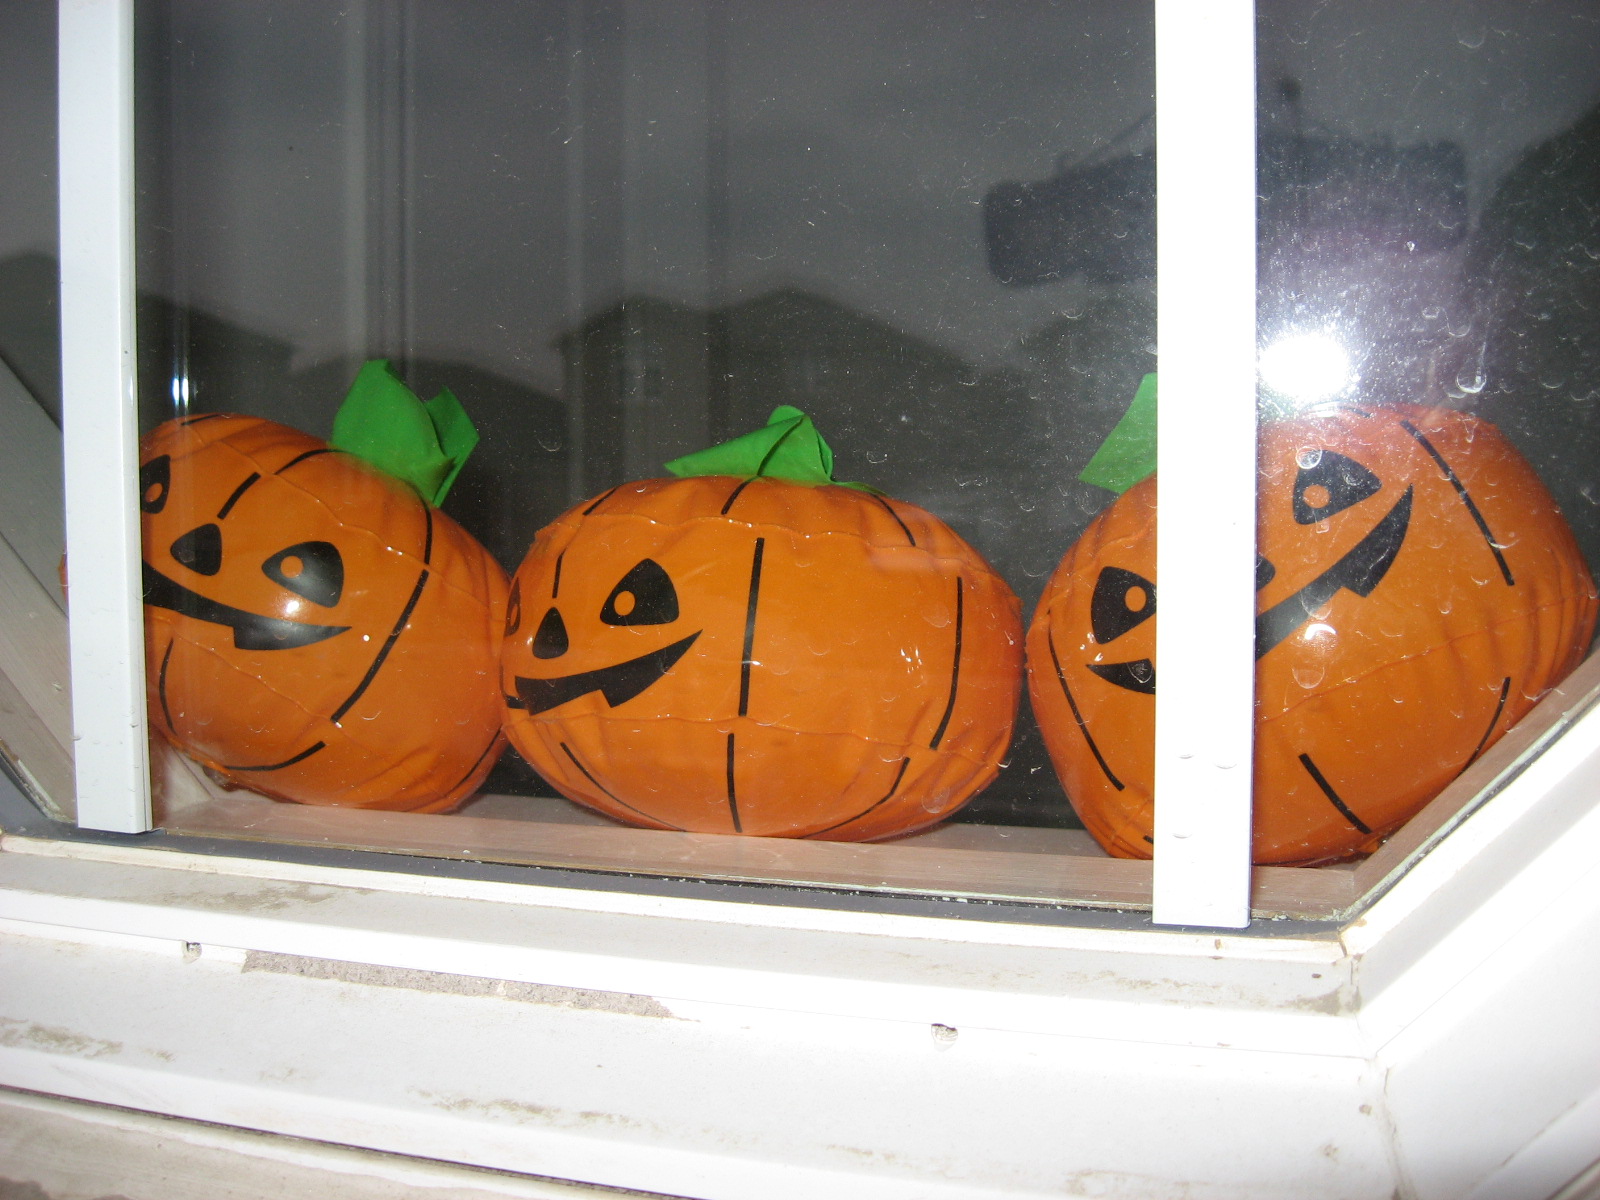
Happy Halloween, everyone!

Saturday, October 30, 2010

The Day Before Halloween

Here's what I got up to today.

1. I finally baked Chris his Crustless Pumpkin Pie. I want to say that this recipe was really easy because it didn't require many ingredients, everything went in one bowl and the prep time was less than 10 minutes. But I can't say that because it didn't really turn out like it was supposed to so I suppose there was an element of difficulty that I wasn't even aware of!


The only tricky bit about the ingredients was separating out the egg whites. I know you can buy all sorts of fancy tools to aid in this process but I just break the egg into my hand and then let the white drip through my fingers into a bowl. No broken yolks today which was nice :) 


This is the final product. It came out more like pumpkin mousse than pumpkin pie since it never really firmed up despite spending an extra 15 minutes in the oven. Oh well, Chris said it tasted great.

2. We decorated the outside of the house for Halloween. I'd been saving the outdoor decorations to avoid things blowing away or getting stolen. Of course not an hour after we had put everything outside it started raining and my cardboard Happy Halloween banner went all curly and weird. I don't think the kids will mind either way.


These little pumpkins are sitting in the front window looking out at the porch. I think they are so cute. I've had them for years but I still remember that I bought all three for only a dollar!

3. I carved our pumpkin. Up until today we hadn't even bought a pumpkin so I was thinking that we probably wouldn't bother this year but then Chris surprised me with one when he came back from his morning assignment (mostly because he wanted to eat the seeds, I think!). I'm not great at carving but I got a little kit last year and it helps a lot to have the proper tools. I will also admit that I used a stencil for this. I wish I had a better picture, it looks a lot better in person!


All in all, a pretty productive day considering that I also cleaned the house from top to bottom and cooked dinner (a big deal since Chris is the cook in our house). Now I'm off to make chocolate bones. I can't tell you why yet but you'll see the finished product tomorrow :)

Friday, October 29, 2010

Last Minute Spider Cupcakes

Halloween weekend is here! Hopefully you're all prepared, pumpkins carved, candy bought and costumes ready to go. However, if you're looking for a last minute idea for a Halloween treat then I've got just the thing, Spider Cupcakes. I've made them in previous years when time was of the essence and I promise you that they couldn't be any easier to make.


For the cupcakes, use a cake mix in any flavour you like. For the icing, purchase a can of vanilla frosting and then tint it orange. If you can't find food colouring (or you don't want to spend the money on it for just one batch of cupcakes) then you can use Kool-Aid to colour your frosting. Simply dissolve half a package of Kool-Aid powder in two tablespoons of hot water and then add it to your frosting. Kool-Aid icing turns out lovely vivid colours but beware because the flavour comes along with the colour! Spread the icing on your cupcakes, reserving some for your spider faces.

For the spiders all you need is Oreo cookies and some black shoestring licorice. I chose to make only some of my cupcakes into spiders but you could obviously do all of them. Just place a cookie on your iced cupcake and then attach 8 pieces of licorice that you've cut to the length of legs. Last, take your reserved icing and put it in a Ziploc bag. Seal the bag then snip off a tiny corner to pipe your icing through. Then pipe any kind of face you like. My spiders were happy but yours could be any variety of emotions.

And there you have it, last minute spider cupcakes. These are super easy but they are always a big hit when I make them. They'd be a lot of fun to make with kids too!

Thursday, October 28, 2010

Fabric Obsession

About a month ago I posted that I planned to use fabric to create inexpensive art for the bare walls of my home. Well ever since then I've been on the hunt for great fabric that I'll want to look at every day. My new obsession has led to me to two online fabric stores with some amazing selections that I just can't make up my mind what to order!

The first site I'm frequenting is Designer Fabrics Online. This is the online version of Designer Fabrics on Queen Street in Toronto. If I order from here I'll love the fact that I'm supporting a Canadian company and that I'll save money on shipping! What's cool about this site is that they'll rent you samples of any of their fabrics which means I could have it shipped to my house where I can try it out with the rest of my stuff and see if it works. Pretty neat! They have a huge selection and a variety of price points.
These are a few of my current favourites:

Clarise - $11.99/yard

Jack's Beanstalk - $26.99/yard
Amari - $24.99/yard
 The second store that has my attention is J & O Fabrics, a company in New Jersey that ships to Canada. They seem to have even more fabrics than Designer Fabrics and their prices look better to me too. They don't rent samples but you can buy swatches of their fabric for $2.00. Their website is well organized and it's super easy to navigate through all the fabric types. They have some really cool vintage fabric and designer mid-century fabric (at up to $130.00/yard!!) as well as a variety of other materials and patterns. Right now I'm loving these patterns:

LA Mod Woods - $8.98/yard

Owls Galore - $8.98/yard

Bliss Floral - $19.98/yard
Now I just need to convince my husband that he likes some of these fabrics too ;)

Tuesday, October 26, 2010

Halloween Creepcakes

Halloween is nearly upon us so I wanted to share my Halloween baking project from last year, Creepcakes! I took the idea from Martha Stewart's awesome Cupcakes book.


They were really easy to make but they look impressive. Simply bake any type of cupcake you like, tint buttercream icing in fun Halloween colours and then make faces out of candy.


I went to the Bulk Barn for all of my candy since you only need a small amount of each type. I bought licorice, marshmallows, jelly beans, mini chocolate chips, silver dragees, candy corn and a bunch of other kinds. I copied some of my faces straight from Martha's book but others I invented based on the candies I had on hand. You really can't do them wrong!


For some of them, I cut the tops off, iced the base, added some candy teeth and then put the tops back on to create a mouth.


This one was my favourite. I just might have to whip up another batch this year!

Sunday, October 24, 2010

Carrot Cake Cupcakes

I was at Michaels the other night and they had $2 clearance grab bags for sale. Of course, I couldn't resist! It was actually a great value, a really big bag full of neat stuff. One of  the items in mine turned out to be a Carrot Cake Cupcake Mix from Mary Engelbreit. Totally worth the $2 on its own in my opinion! 


I had planned to make the Crustless Pumpkin Pie recipe that I posted previously but I realized this afternoon that I didn't have any Pumpkin Pie Spice. I had promised my husband a treat so these cupcakes were the perfect fix. The kit comes with the cupcake mix, frosting mix, and even sparkling sugar to put on top.


The cupcakes themselves were very easy and similar to any boxed cake mix, just add milk, oil and an egg. They came out of the oven looking a lot more like muffins than cupcakes and they had really sticky tops but a toothpick came out clean after 18 minutes, just as instructed.


The frosting mix is for cream cheese icing. All you do is cream butter then add in the mix, icing sugar and a little bit of milk. It produced more than I really needed but I guess better too much than too little. My only complaint was that, even though I followed the recipe exactly, the icing was pretty thin. I didn't even have to spread it, I just dropped a dollop on top of each cupcake and let it spread on its own. Easy but not great for presentation. Oh well, they won't be leaving the house since Chris thinks they are delicious and promises that he'll finish them quickly. The kit only makes 8 so I'm pretty sure he's telling the truth :)


Saturday, October 23, 2010

Halloween Cake Pops

I'm so happy to report that take #2 of my adventures in cake pops was a success! You might remember my take #1 post that ended in frustration? Well today I regrouped, gathered the supplies I bought last night and tried again. 

First, I followed the advice I received about dipping the end of each stick in a bit of melted chocolate before inserting them into the balls. The idea is that when the chocolate hardens it helps the stick to hold in the ball. It really did make a huge difference. Once I had inserted all the sticks I popped the container into the fridge for a few minutes just to make sure that the chocolate was completely hardened.


Next I set up my various stations from left to right on the counter. The uncovered balls were on the far left, next the container of melted chocolate, followed by the sprinkles and then the Styrofoam dummy cake at the end of the line.  It's a good idea to set things up this way because you have to work quickly as the chocolate hardens fast and you want to make sure your sprinkles stick. But I had all of my uncovered balls out on the counter and this was a mistake. The cake warms up so quickly that by the time I got to the last few balls they were sliding off the sticks. Next time I would only take about 15 at a time out of the fridge.

Dipping the balls in chocolate is somewhat time consuming. Once you dip, you have to spin and tap the stick repeatedly to shake all of the excess chocolate off. I found the process really awkward at first but after I had done a few I found a rhythm and that made it a lot easier. All in all it took me about 40 minutes to complete 36 balls. You also make things a lot easier on yourself if your chocolate container is tall and thin so that you can cover the entire ball by dipping it just once. The more you have to roll the ball, the more excess chocolate you'll need to remove. I did have to reheat my chocolate a couple of times, just to keep it as runny as possible.

Once I had dipped (and tapped and spun!) I placed the sticks in my Styrofoam and tossed some sprinkles on top. At first I was dipping in the sprinkles but that just messed up the finish on the balls and left chocolate in the sprinkles.


It only takes about 5 minutes for the chocolate to harden long enough for the pops to be removed from the Styrofoam. And then they are ready to eat! I fed a couple to my husband (he loved them) and then piled the rest in a container and stuck it in the fridge. According to what I've read, they should last for a few days so I hope to share them with the girls at work on Monday!


Friday, October 22, 2010

Bulk Barn Love & A New Design!

Notice anything different? I've redesigned the blog! My original template was pretty but I just never felt like it was completely me. Today I had the down time necessary to play with a bunch of different colours and backgrounds until I settled on what you see here. I am in love. What do you think?

Speaking of love, I made a trip to Bulk Barn tonight and was reminded all over again how much I love that store! For those outside of Canada, Bulk Barn is an incredible bulk food store that carries an impressive number of products. If they sell it in bulk then chances are you can buy it at Bulk Barn; I'm talking everything from chocolate to vitamins to dog food. Additionally, they also have a great selection of baking and candy making products at a much lower price than you'll find them anywhere else. If you've never been then take a minute to browse through their product listing and you'll be looking for the one closest to you!

I stopped at Bulk Barn tonight on my way home from work to get supplies for a couple of ideas I've got brewing. First, I bought what I need to have another go at my cake pops. I got orange melting wafers ($4 for way more than I'll likely need) and black sprinkles ($0.46) to make them Halloween themed. Then I bought the sticks I had forgotten the first time around  ($2.69 for 50) as well as a Styrofoam dummy cake ($2.89) to stick them in so they dry without any flat sides. Thanks for the tip, Michelle!


Next I bought purple melting wafers (again $4 for more than I will probably need) and a candy cup mold ($3.29) so I can to make some of Bakerella's Cupcake Bites. Go check them out on her site, they are adorable!


Last but not least, I bought a giant bag of candy corn ($5.85). I didn't really have an idea in mind for what I'd do with it, besides feed it to my husband, but he says I've bought way more than he can possibly eat so now I'm brainstorming projects for them.


At the end of it all, I spent $20 and walked out with a bag full of great stuff. It's too late to get into the kitchen tonight but I can't wait to start tomorrow!

Thursday, October 21, 2010

Cake Pops = Fail!

Yesterday during my lunch break I stumbled across the blog of Bakerella and I can't believe what I've been missing!! Bakerella is super talented and the inventor of Cake Pops. What are Cake Pops, you ask? Well they are balls of cake covered in chocolate and placed on sticks, lollipop style. You can form the balls into a multitude of shapes and decorate them a million ways. Here are some examples from Bakerella's site.


She also has a Cake Pops book that has officially been added to my Christmas list!


I was so excited to make my own cake pops that I went to the grocery store on the way home from work last night to pick up ingredients. The balls are made from a mixture of cake and frosting. You bake a cake mix as directed on the box, let it cool completely and then combine it in a bowl with a can of frosting. Then you form your mixture into balls. Sounds simple, right? Well maybe I should have taken it as a sign when my cake overflowed all over my oven that things were not going to turn out well but I continued on anyway. Step One was pretty easy and in hardly any time I had rolled my mixture into balls.


So far so good but it was getting late so I decided to refrigerate the balls and head off to bed. Fast forward to tonight. I had my chocolate and my sprinkles all ready to go. I melted two 50g Jersey Milk bars in a measuring cup thinking it would be the easiest container to roll the cake balls in. Did I forget to mention that I hadn't bought any sticks so my cake pops had turned into plain old cake balls? Oops. Pops or balls notwithstanding, I quickly discovered that way too much chocolate was sticking to each piece and I couldn't figure out how to get the excess off without making the chocolate look all messy. My two chocolate bars went really fast and, in the end, I only managed to cover 8 balls. Obviously not right at all!


I think that the ones I did manage to cover look (and taste) great but I need to figure out a way to spread the chocolate out better. I was pretty frustrated by the time I finished my 8 balls tonight so I packed the rest of the cake up and put it back in the fridge to try again tomorrow night. Stay tuned!

Wednesday, October 20, 2010

Evaporated Milk Inspiration

My husband always makes fun of me because I can't seem to pass up a deal. I come by it honestly, my mom is just the same. I just love getting something on sale, even if it isn't something I was really after in the first place. Well tonight at the grocery store they had cans of Carnation Evaporated Milk on sale at 3 for $5. Needless to say, I now have three cans of evaporated milk in my cupboard!


Now I need some ideas for what to do with it and I've been looking for recipes. Carnation has a a pretty comprehensive collection of recipes on their website including a delicious looking Chocolate Cream Pie and super cute Tie-Dyed Mini Cupcakes.


But I'm more interested in hearing from you. Do you have any tried and true recipes that call for evaporated milk? Please share them by leaving a comment here or on the Facebook page! I promise to make at least three of them ;)

Tuesday, October 19, 2010

Crustless Pumpkin Pie

I had plans to bake tonight and thought I would have something yummy to share with you but sadly I arrived home to find out that we are out of eggs. Boo! Plan B is to share with you the recipe for Crustless Pumpkin Pie!

I have mentioned before that I don't like pumpkin pie but that my husband absolutely loves it. I don't mind making a dessert that only he will enjoy (it's better for my waist line anyway!) but the problem with pumpkin pie is that Chris only eats the filling and always leaves the crust behind. It seems like such a waste. Well today while I was reading MADE there was a mention of crustless pumpkin pie. Perfect! She also included the picture below. Doesn't it look delicious?


There was no recipe over at MADE so I did a quick Google search and was happy to find tons of results. I found the following recipe on several websites and the best part about it is that it's low in fat and calories. For anyone counting Weight Watchers Points this ENTIRE pie is only 8 points! Crazy, right? It makes me wish I like pumpkin pie!

Crustless Pumpkin Pie

Ingredients:
1 can pumpkin (15 oz)
1 can evaporated skim milk (12 oz)
3/4 cup egg substitute (or 3 egg whites)
1/2 tsp salt
3 tsp pumpkin pie spice
1 tsp vanilla
2/3 C. Splenda (or sugar) or to taste


Instructions:

Combine all ingredients and beat until smooth.
Pour into a 9" sprayed pie pan
Bake at 400 for 15 minutes, and then at 325 for 45 minutes or until a knife inserted in center comes out clean.

I will definitely be making this for Chris on the weekend. I'll be sure to let you know how it turns out!

Monday, October 18, 2010

Halloween Cupcake Liner Wreath

Halloween is getting closer and you've probably already done most of your decorating. But if you're still looking for ideas then I've got a great one! Courtesy of The Swell Life it's a Cupcake Liner Wreath.


Here are the instructions from The Swell Life. She also has pictures of each step if the text alone isn't clear.

Materials:
– flat wooden wreath ring
– 3 Large Cupcake liners in orange polka dot
– 14 Small cupcake liners in black&white and white&black (purchased at Michaels)
– Aleene's Tacky Glue
– Large rhinestones (I used orange, yellow, clear, and dark orange/brown)
– Halloween stickers
– Scissors
– Black spray paint
– Black acrylic paint or black spray paint
– foam brush

Instructions:
1. Paint the wreath frame with black spray paint or using foam brush and black acrylic paint. Lay on newspaper to paint and let dry.
2. Make cuts spaced out all the way around each cupcake liner. It will resemble a flower.
3. Arrange flowers in place on the wreath ring to space out before you glue.
4. Glue black and white cupcake liners to 3 orange cupcake liners. Glue in place on wreath ring. Now add a dab of glue to the back of each of the black&white and white&black cupcake liners and press into place.
5. Add a dab of glue to each of the backs of each rhinestone and press and place. Let dry.
6. Press the stickers into place and Voila! You are finished!!!

Doesn't that sound super easy? And so inexpensive as well. I definitely think I'll be heading to Michaels to get supplies so I can try this project!

Sunday, October 17, 2010

Ice Cream Sandwich Cake

In keeping with this weekend's them of babies and little ones, today was the birthday party for my cousin Lauren who turned 2 last Thursday. She had a great time opening her mountain of presents and marvelling over each one and we had a great time watching the whole thing :)

The birthday girl's mom made a delicious ice cream sandwich cake that was so good I had to share the recipe with you. All you need is ice cream sandwiches, Cool Whip, caramel sauce and Skor pieces. First arrange a layer of ice cream sandwiches in the pan of your choice. You can always cut them in half if they don't fit properly. Next spread a layer of Cool Whip over the sandwiches followed by a layer of caramel and Skor pieces. Then repeat that whole process on top of your existing layers. You can make it as many layers tall as you like. Then just pop it in the freezer until you're ready to enjoy. Could that be any easier?!

On the drive home my husband and I were brainstorming different variations you could try. How about chocolate sauce and Toblerone pieces? Or crushed up Oreos to make a cookies and cream cake? Yum! You could make this cake to suit any taste.

I borrowed the picture below from the fabulous bake at 350 but all credit to Michelle for tonight's awesome cake idea!


Saturday, October 16, 2010

DIY Nursery Decorations

It's fun being the person that people go to for DIY and craft ideas; it makes me feel like I'm doing my job well with this blog! This week I had Nadia (who I made yesterday's diaper cake for) ask me for ideas for inexpensive decor for her baby's room. And I had a few!

First, for a twist on a previous post I wrote about framing fabric, I suggested cutting the letters of the baby's name out of paper and then framing each one over pretty fabric. You could choose a busy fabric and then cut the letters out of white paper or you could use a more subtle fabric and create the letters out of colourful scrapbooking paper. Depending on the size of the frames you choose, and the length of the baby's name, you could do this project fairly inexpensively. I found the example below on Wee Decor. They've used wooden letters instead of paper which would cost a bit more and take more time because you'd have to paint them. The end result would be pretty much the same whether you used paper or wood. I do love the way that they've hung their frames with ribbon. So cute!


Another inexpensive way to decorate a nursery is by framing pictures that you cut out of calendars or books. I have a bad habit of keeping old calendars around, convinced that I'll do something with them. Well this is the perfect something! I also love the art section at Chapters for a project like this. When my cousin Lauren was born I cut pictures of sleeping animals out of a Rachel Hale book and framed them. If you've seen Rachel's photography then you know it's perfect for a baby's room! In addition to animals, she now photographs babies. Chapters has her Baby Love book on sale for $6.99 right now!


My last suggestion for decorating a baby's room is wall decals. You can purchase really inexpensive sticker versions at the Dollar Store. They are really cute but I don't know how well they would stick over the long term or whether they would be easy to remove when you were through with them. For a better quality version, I recommend heading over to Etsy. There are vinyl decals available in every price range, from $8 for a family of super cute rabbits from sixunderatree (they will make them any colours you want!) all the way up to $185 for a full safari scene from designedDESIGNER (also customizable!).


Do you have any other DIY baby decor ideas you can share?