Tuesday, November 30, 2010

Hurray for Christmas Decorations

Have I mentioned that I love Christmas? If you've been reading the blog then I'm sure this comes as no surprise. I spent yesterday decorating my house for the holidays and tonight I want to share some pictures of my Christmas excess with you ;)

First, there's the tree. I know it's not everyone's preferred style but I love my eclectic and colourful tree. And I think my Paper Garland looks great on it. Click on the image to see a bigger version. It's hard to take a clear picture of a lit tree so please forgive the blurriness!


My husband bought this ornament for me when we celebrated our first Christmas together so it gets a place of honour on the tree. This is a clearer picture of the garland too.


This is Chris' very own ornament. He's kind of a Grinch so anything that gets him into the holiday spirit I'll put up with, even if it means having a Simpson on my tree!


You might recognize my Newspaper Tree in this picture. My mom bought me Rudolph & Clarice last year. It's a Jim Shore piece and I love the little raccoon and rabbit standing with them.


Chris calls this table my "shrine to Christmas". Recognize the Ribbon Tree?

 \
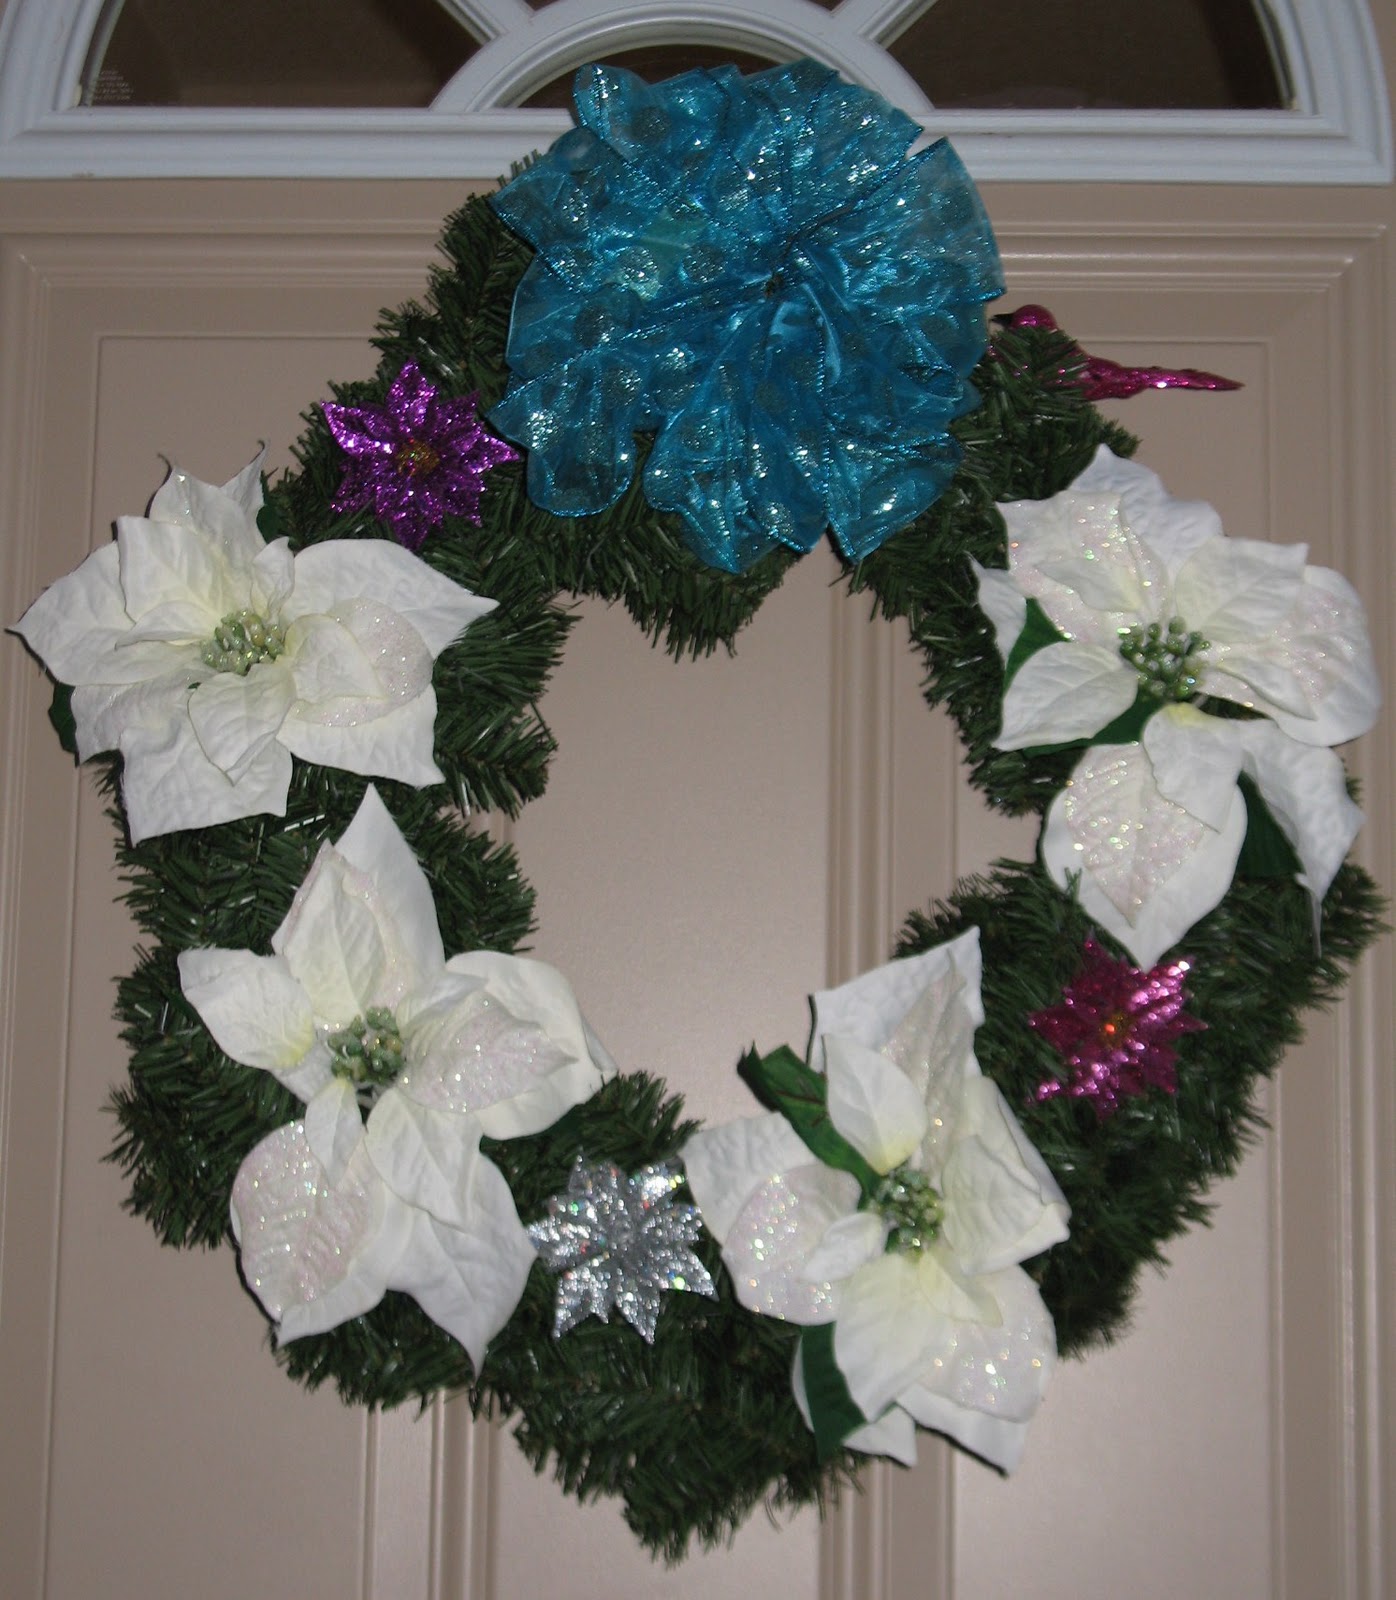
There's Christmas in my front hall...


...and in my bathroom...


...Even our cat gets into the Christmas spirit!


And that's really just a taste of everything I've got going on around here. Some might call it overkill but I'm still working on paper snowflakes and cotton ball garlands because I think we could use a little more!

But it's not all about Christmas. Hanukkah starts at sundown tomorrow night so check back here on Thursday to see the surprise treat I've been working on for Chris. And don't forget, tomorrow is Bake-N-Blog. I'll be posting about my experience with Scotcheroos tomorrow!


Monday, November 29, 2010

Paper Christmas Tree Garland

Time for a confession. I am what is sometimes known as a Christmas Crazy (at least that's what my husband calls me!). I booked today off work with the express purpose of decorating my house, listening to Christmas carols and drinking hot chocolate. And I'll be getting started on all that as soon I finish this post!

Last night while sorting through my boxes of decorations, I realized that I don't have a garland for our tree. Since we have a Christmas budget and I'd rather use it on gifts and baking, I decided to make my own garland. Unfortunately, the only ideas I could find with a Google search required a lot of materials I didn't have. What I did have on hand was Christmas paper so I decided to use that.


Remember those paper chains that you used to make in elementary school out of strips of paper? They make really nice garlands! To make it look a little less like a 6 year old made it, use scrapbook paper cut into 6 inch by 1 inch strips. This yields smaller and less droopy loops. If you're using 12x12 paper than one piece yields 24 strips.


I used 5 different types of double sided paper, 11 pieces all together. You need about 8 loops to make a foot of garland. Once again I must sing the praises of my Fiskars paper cutter. If I had to measure, mark and then cut with scissors I would have given up for sure. With the paper cutter I was able to get all my strips cut in under an hour.


Start by making one of your strips into a loop and stapling it. You could use hot glue instead of staples but I chose staples because they were just so much easier and you have so many loops to complete. Plus, the staples won't show once the garland is up on the tree. Next, take another strip in contrasting paper and create a loop that links through your first loop and staple it. Then repeat, alternating papers with each loop.


It gets a bit tedious but I created 264 loops, approximately 33 feet of garland, in about an hour. I'm really pleased with how it turned out and I'm happy that I was able to make it using stuff I already had around the house. Christmas budget in tact!


P.S. Don't forget to enter my Christmas Magnet Giveaway!

Saturday, November 27, 2010

Christmas Magnet Giveaway!

The latest project I've been working on is Christmas Magnets and I'm so happy with how they turned out! They are made with gift tag images cut from scrapbooking paper, foam, Mod Podge, glue and a strip of magnets. Aren't they cute?


I'm so excited about them that I want to give this set of 5 away to a reader, just in time for the holidays! Keep them for yourself and display on your fridge or punch holes in the tops where indicated and string them on presents as actual gift tags.


In order to win, all you need to do is leave a comment on this post. No need to become a follower or "Like" the blog on Facebook (though you're welcome to do those things anyway!) just make sure that I am able to reach you via your comment. That means, if you're posting as "Anonymous" because you don't have an account, make sure to leave me your name in the comment. I will ship anywhere in the world so anyone can enter! I'll be drawing a winner on Friday, December 3 at 8:00pm EST so make sure to leave your comment before then. Good luck!


Thursday, November 25, 2010

A Shutterfly Christmas & A Special Offer For Bloggers!

After I posted about holiday cards and how they've gone out of fashion I was pleasantly surprised to hear from quite a few people who reported that I was dead wrong because they still send cards every year. With that in mind, I’m excited to post tonight about Shutterfly and their awesome Christmas photo cards (keep reading for a special offer for bloggers).They let you incorporate one or more of you own photos into their beautiful designs. And with hundreds of designs to choose from, there’s bound to be one to suit your tastes. Their pricing is great too and they even offer free shipping on orders over $25!

I'll definitely be sending some of these Christmas cards out this year, I just can't decide which design I like the best. I think I've narrowed it down to these ones but I keep on changing my mind!


Shutterfly also does party invitations that are so nice they make me want to throw a holiday event just so I can order some!


And you can even use Shutterfly to make great gifts. Who wouldn’t love a personalized wall calendar that they can enjoy for a full year?

And I’ve got exciting news for my fellow bloggers. Shutterfly wants to give you 50 cards for free! Just click here to find out more.

For everyone else, order your cards now so you have them in plenty of time for the holidays. Each card comes with its own envelope to make sending them easy. And if you're really feeling hands off, Shutterfly will even send your cards for you! Visit the Shutterfly website today :)

Wednesday, November 24, 2010

My Newspaper Christmas Tree

Remember earlier this month when I posted about Martha Stewart's Shimmering Stacked Tree? And I wrote that I was excited because it would be so easy to make? Well I was so wrong; it took forever to make!


First, it took me an entire Toronto Star, several flyers and two full hours to cut out all of the required newspaper squares. Thank goodness for my paper cutter because I would have given up using scissors!


Then it took another two hours to place the squares one at a time on the knitting needle and turn them to the proper positions.


But, 4 hours later, when it was done I was pretty pleased with the results. And it wouldn't take much to complete the rest of the steps, right?


Wrong! Because my clay base wasn't strong enough to hold up a knitting needle full of newspaper and the whole thing collapsed. At this point I had had about enough and hid the whole project out of sight before I decided to toss it all in the recycling bin.

Having put so much work in already I really didn't want to scrap the project so I kept trying to think of an idea for a new base. In the pet store picking up kitty litter, inspiration struck. I bought a little stainless steel pet bowl and hot glued some Christmas ribbon around the outside. Then I filled the bowl with clay and stuck the end of the knitting needle in. Voila, a potted newspaper Christmas tree!


All that was left after that was to spray the tree with glue and cover it with glitter. I chose white to give the idea of snow. I think it looks really pretty but I might spray it again and give it another coat of glitter to make it look a little more like Martha's version. I also need to find a star for the top of three to replace the silly silk flower I'm using as a place holder.

In the end, I'm happy with the end product but I would never take on this project again. It was so much work for something that doesn't look like it took very much effort. But it will make a unique addition to my Christmas decor this year!

Tuesday, November 23, 2010

Free Printable Calling Cards

Yesterday's post about a free printable holiday card went over so well that I thought I'd keep the theme going and share another free printable that I'd found on my travels through the blogosphere, calling cards! I've had this bookmarked ever since I came across it on awesome blog How About Orange.


The design is simple but really cute and calling cards are perfect for a blog owner looking to spread the word about her work. I'm showing you the blue version because it's my favourite but you can also get the cards in orange or pink. To download the customizable PDF just click here to visit How About Orange and pick your colour!

Monday, November 22, 2010

Free Holiday Card Printable

It seems that Christmas and holiday cards have kind of fallen out of fashion. I can remember years ago watching my mom write out dozens of cards and waiting for the dozens that were sure to arrive in our mailbox. I loved seeing the different types of cards that people selected and sent. Last year I received a grand total of 3 cards. Despite this, I still love writing and sending holiday cards and I'll be sending them out again this year.

I'm always on the lookout for an inclusive holiday card that doesn't say "Christmas". I found this year's card at Hallmark more than a month ago (I get into the spirit early!) but, if I hadn't, then I would have been thrilled to find this hand drawn holiday card printable from mufn inc. It's really cute, inclusive of all holidays and best of all it's free!


I love the space at the bottom where you can write in your name and/or the names of your family members. Such a neat little touch. To download the PDF just click here to visit mufn inc's blog.

And while we're on the subject, will you be sending holiday cards this year?

Sunday, November 21, 2010

Fresh Winter Planter & Updated Winter Wreath

Hope you've all had a lovely weekend. The weather turned quite cold here today (just in time for my poor husband to stand outside to cover the local Santa Claus parade!) and it inspired me to finish some of my winter projects.

Last week I told you about a demonstration I attended where I learned how to make a fresh winter window box. This weekend I created my own for our front porch. I used Douglas fir, pine and cedar as shown in the demonstration but I also added some noble fir that I found at the local grocery store. It has a really cool texture that I think added a little something extra. I used the same box that held my summer flowers and then my fall arrangement. I made a bow using ribbon made for outdoors and wired it to a leftover stick. I'm pretty happy with how it all turned out!


The other project that I completed this weekend was an update of my winter wreath that I first posted about here. This was the first wreath I've ever made and, though I liked the concept, it wasn't really good enough. I got some good feedback from family and readers and I studied the wreaths at Michaels for inspiration. Today the wreath went from this...


To this...


Better, right? To be honest, I still see a lot that's wrong with it but I like it a lot better than the first version. I wish I had a better picture of the bow because it turned out really pretty. I made it using a really easy tutorial on YouTube. You can find it here.

Today I also made my recipe for the upcoming Bake-N-Blog and I started on a new Christmas craft that will be part of my next giveaway. Stay tuned!

Saturday, November 20, 2010

Bake-N-Blog and a Winner!

So this post is actually going up about 12 hours later than I had intended it to. I was so excited to determine my giveaway winner at 8:00 last night but unfortunately I came home from work feeling less than well, fell asleep at 7:00 and slept right through until 7:30 this morning! The good news is that I'm feeling a lot better this morning and I have a winner! More on that in a minute...

First I wanted to tell you about a blog event I'm really excited to participate in, the Bake-N-Blog Holiday Edition hosted by Kelly over at JAX does design. The idea is that every participant chooses a Christmas cookie recipe to try and then blogs about their experience baking them on December 1. Head on over to Kelly's blog to learn more and sign up to participate by clicking the button below. I'm making Scotcheroos and I can't wait to share with you :)


And now, what you've been waiting for, the winner of my giveaway! I took into account your comments as well your "likes" on Facebook and then used the Math Goodies Custom Random Number Generator. I'm very happy to announce that the winner is Shannon @ What's Up Whimsy!


Shannon has a very cool design blog called What's Up Whimsy! where she shares her tips and tricks for creating a home full of contemporary whimsy with a hint of vintage.


Congrats to Shannon and thank you so much to everyone else who entered! And for those who didn't win, don't worry because I'm working on another fun giveaway, this time with a Christmas theme, that I should be ready to tell you about next week!

Enjoy your weekend and  I'll be back later with the results of  my fresh winter planter.


Thursday, November 18, 2010

Fresh Winter Window Box

Tonight I went with my mom to Bradford Greenhouses (the awesome store I posted about here) to watch a demonstration on creating fresh window boxes for winter. I forgot my camera but the finished product looked a lot like this (minus the snow!)


I've really wanted to make one of these but I wasn't really sure what to buy or how to put it together. In case you've been wanting to make one too, I'll break it down for you. It's actually incredibly easy!

You'll need an empty planter or window box, floral foam, waterproof tape, a variety of evergreen boughs and any other additional decorations that you want to add.

First, fill your empty planter with wet floral foam. Make sure to really soak it as you'll need it stay wet to keep your boughs fresh. Tape it down into the planter with a generous amount of waterproof tape so it doesn't lift out of your planter when the wind picks up. It should look similar to this:


Next, cut pieces off a Douglas Fir bough and begin sticking them into your foam. It's best to start with Douglas Fir as it will keep its shape and provide support to the other types of greenery you'll add later. Use larger pieces all around the outside of the planter and add smaller pieces on top. Keep sticking in pieces until the foam is mostly covered.


Follow the Douglas Fir pieces with Pine and then Cedar. These three types leave you with a nice variety of texture and colour. Keep sticking in pieces until your planter is as full as you'd like.


Last, take your other decor and attach it to leftover sticks from your evergreen boughs. Tonight they created a big bow and attached it to a stick with floral wire and added some pine cones on sticks. There's a really easy bow tutorial on the Michaels website here.


And that's it. You've created a beautiful fresh window box perfect for the holiday season in just a few easy steps. We bought all the supplies tonight so I'll be making my planter this weekend. I'll be sure to share some pictures :)


P.S. I'm choosing a giveaway winner tomorrow at 8:00pm EST so leave your comment before then for a chance to win!