Wednesday, October 5, 2011

DIY Halloween Luminaries

Looking for clever and easy ways to enhance my outdoor Halloween decorations this year I've fallen in love with luminaries! There are so many variations and you can make them from many different materials. And the best thing is that you probably have most of the materials already lying around your house. Here are a few of my favourites.


These luminaries are made with jars, mod podge, tissue and construction paper. Gleeful Things has a full tutorial. Love that pumpkin face!


These ghost luminaries are also made using jars but they are painted. Check out Family Corner for the simple instructions. Your kids could get involved by helping you to draw the faces.


I love that these luminaries look a bit fancier but are actually made with dollar store cylinder vases! Visit Me and My Bucket to see the full how-to.


If you like the idea of luminaries but you're not quite ready for Halloween then this paper bag variation is for you. Martha Stewart's site gives directions for making these with nothing but fallen leaves and some paint and water in a spray bottle. So simple!

I think I'll be raiding our recycling bin for glass jars when I get home tonight. I can't wait to line my porch with luminaries.

Monday, October 3, 2011

By the Batch - Apple Honey Bundt Cake

As I mentioned last week, we had a special dinner for Rosh Hashanah last week. Chris made brisket, matzo ball soup and latkes - all delicious (or so I'm told since I don't eat meat so didn't partake in the brisket). I made some lovely Challah and then we finished off the meal with an Apple Honey Bundt Cake recipe that I found on AllRecipes.com. It was incredibly good!


Ingredients:
1 cup white sugar
1 cup vegetable oil
2 eggs
3/4 cup honey
1 teaspoon vanilla extract
2 1/2 cups all-purpose flour
1 teaspoon baking powder
1 teaspoon baking soda
1 teaspoon salt
1 teaspoon ground cinnamon
1/4 teaspoon ground allspice
3 apples - peeled, cored and shredded
3/4 cup chopped walnuts


Directions:
Preheat the oven to 325 degrees F (165 degrees C). Grease and flour a 9 inch Bundt pan.

In a large bowl, stir together the sugar and oil. Beat in the eggs until light, then stir in the honey and vanilla. Combine the flour, baking powder, baking soda, salt, cinnamon and allspice; stir into the batter just until moistened. Fold in the apples and nuts.

Bake for 50 to 65 minutes in the preheated oven, or until a toothpick inserted into the crown comes out clean. Let cool for 10 to 15 minutes before inverting onto a plate and tapping out of the pan.


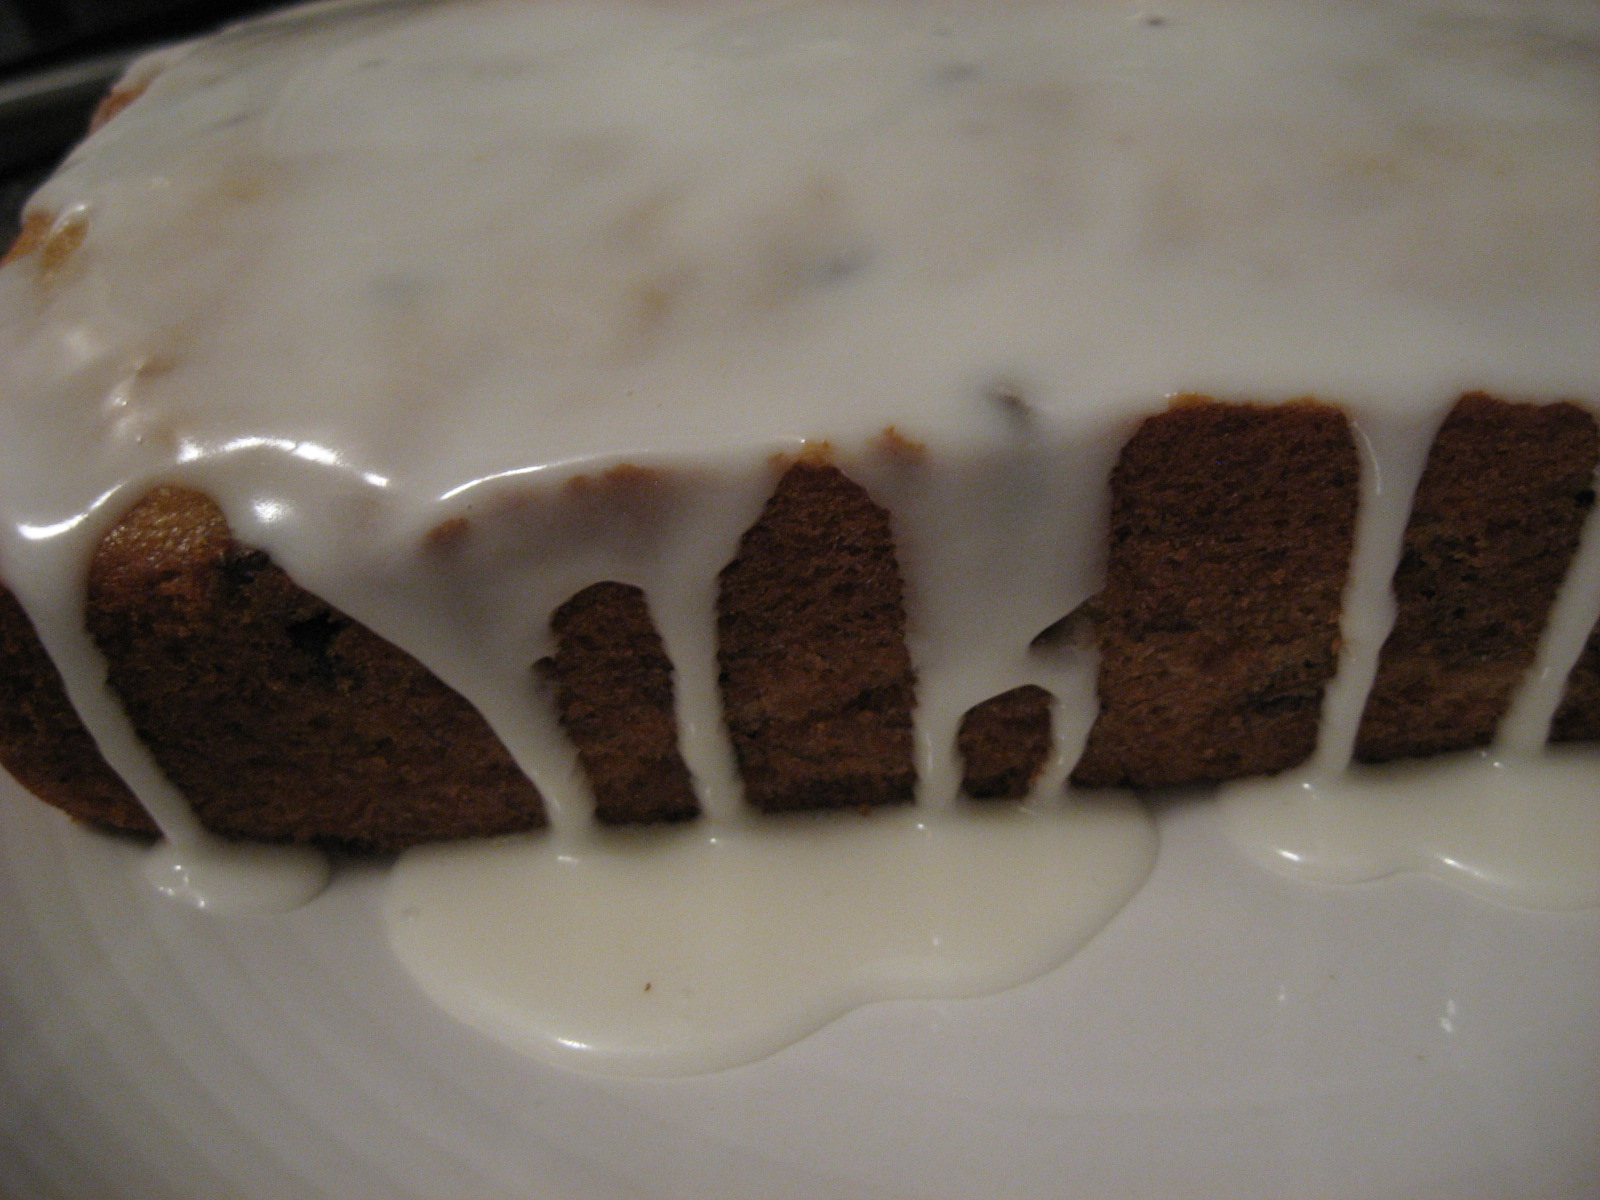
Everyone loved this cake and it was very easy to make. The most time consuming part was peeling, coring and then shredding the apples but it was well worth the effort. The only changes I made were to leave out the allspice (because I didn't have any) and to add an extra 10 minutes to the cooking time. It could just be my oven but it was definitely not finished baking even after 65 minutes.As you can see in the picture above, the cake was well enjoyed.

I hope you all have a sweet new year!

Friday, September 30, 2011

Friday Odds & Ends

Can you believe it's the last day of September? Where has the time gone? Just popping by quickly today with a few small updates. First, I'm super excited that I'll be guest posting over at Clean & Scentsible as part of Jenn's Ghostly Gathering! I'll be sharing a quick and easy Halloween décor tutorial on October 6 - be sure to stop by and check it out.


In other good news, I was thrilled to find out yesterday that I won a $100 gift certificate to inVU Drapery Co courtesy of Staci Edwards' blog Inspired by Life. We need a window treatment for the baby's room so this couldn't have come along at a better time. I'm so excited to shop - thanks again, Staci!


Rosh Hashanah ends today and we will be celebrating with a special dinner. I'll be back next week with a recipe and review for Apple and Honey Bundt Cake. Apples and honey are symbolic of a sweet new year - not to mention that's a delicious combination!

  
This weekend we'll be visiting our favourite gourd and pumpkin stand so I can create another version of last year's fall planter. It'll be time for Halloween decorations before you know it so I want to make sure my fall stuff gets a chance to stand alone first.


We'll also be going to the Toronto Zoo this weekend - weather permitting! I really want to see the African Penguins. They are endangered and a new species at the zoo this year. The zoo had a clever ad campaign running this summer and it clearly worked on me.


The last of my updates is that I am 20 weeks pregnant today! I have my next ultrasound this coming Wednesday and hopefully baby will cooperate and we will find out the gender. You'll be seeing an influx of baby projects after that!

Have a great weekend everyone!

Thursday, September 29, 2011

A Happy Birthday

This past weekend we celebrated my dad's birthday. The family got together to eat cake and watch Dad open presents. I made the cake and decided to keep it simple - chocolate cake with chocolate icing covered in candy.


I went with M&Ms because my dad's initials are M.M. When I asked Chris to pick me up a big bag at the grocery store I had to convince him that was the reason and it wasn't just a pregnancy craving!

I also made a birthday card with a collection of paper embellishments that made me think of the birthday boy. I love how cards can come together using random pieces that you might not think belong together.


Happy Birthday, Dad!

Monday, September 26, 2011

By the Batch - Lemon Bars

My husband generally doesn't take much interest in my pinning but he sure took notice when I pinned this recipe for Lemon Bars from Less Cake More Frosting. And he's been asking me to make them ever since. This weekend I finally did and boy am I glad - these things are seriously delicious!


Ingredients:
For the Crust
2 cups Flour
1/2 cup Icing Sugar
1 cup softened Butter

For the Filling
4 beaten Eggs
2 cups Sugar
8 tablespoons Lemon Juice
4 tablespoons Flour
1/2 teaspoon Baking Powder


Directions:
Blend first 3 ingredients. Press into greased 9×13 pan. Bake @ 350 for 25 minutes.
Once the crust is baked and cooled, mix remaining ingredients together well. Pour mixture over the cooled crust. Bake @ 350 for 25 minutes.

I didn't have my camera so I wasn't able to take any pictures of the process but this recipe is so simple that you really don't need any. If you'd like some additional tips for making this recipe then I suggest heading to the source - Lara has provided all her secrets for getting the bars to turn out perfectly.


Happy Baking!

Wednesday, September 21, 2011

Magnetic Calendar - September

Well I've completed my September calendar and there are still 9 days left in the month so I'm calling it an accomplishment! I think the thing to remember is that I'll have it up for many Septembers to come so it's not so bad that it's only for a week this year.


Even though September makes me think of fall I didn't want to go too overboard since really most Septembers are quite mild here and the leaves are really only just beginning to change colour. So instead I tried for more of a harvest feel with reds and golds. I mixed in some fall flowers, a couple of apples and some of the cutest owl stickers I've ever seen. Here are some close-ups so you can see the details.


As always, if you'd like to see the rest of my completed months (I've finished 7 now!) or you'd like more information on how they're created you can click here.

Now I better get moving on October!


 P.S. Linking to:

Monday, September 19, 2011

By the Batch - Mom's Banana Bread

One of my favourite things about fall is that cooler weather means we can actually use our oven without the house turning into a sauna. I've hardly baked at all over the last few months but I've got big plans for that to change. I'm bringing back my By the Batch series so be sure to visit on Mondays for recipes and ideas to indulge your sweet tooth! This week I made my Mom's Banana Bread.


Ingredients:
1/2 cup margarine
2/3 cup white sugar
2 eggs, beaten
1 cup banana (approx 3 bananas)
1 1/2 cups flour
2 tsp baking powder
1/4 tsp baking soda
1/2 tsp salt
Optional - 1/2 cup of chocolate chips or nuts


Directions:
Cream margarine with sugar. Add eggs then add banana. Mix other ingredients in a separate bowl. Mix wet and dry ingredients together. If using chocolate chips or nuts, mix them into the batter.


Pour into a greased loaf pan and bake at 300 for 45 minutes to an hour.


According to Sarah:
This is my mom's tried and true banana bread recipe and she has made it countless times over the years. For some reason hers always turns out much darker than mine but, no matter the colour, this banana bread always tastes great! With so few steps it's pretty foolproof. My one tip is to use rotten bananas - the blacker the skins the better. If your bananas aren't rotten you'll want to put them in a blender before you try to incorporate them with your other ingredients.

I put chocolate chips in this loaf and then, to really make it sweet, I added some simple icing on top. I don't have a recipe for this, just add milk to icing sugar until you get a good consistency. I like to make it runny enough that I can just pour it over the bread and let it drip down the sides.


Is your mouth watering yet?