Wednesday, February 23, 2011

Party Perfect - Photo Wall

Martha has seriously done it again! When I saw this idea for a personalized photo wall it really made me wish I was planning a party.


I love that this one is made up entirely of pictures of the birthday boy but what about taking a photo of each guest as they arrive for a surprise party and building the numbers out of those? Or how about pictures of Disney characters or Dora the Explorer for a kid's birthday party?

I also think it would be cool to create a year in pictures for a New Year's Eve party by making a big 2011 on the wall using pictures you've taken throughout the year. And if I had seen this idea before our wedding I would have created a giant monogram on the wall using pictures of the whole bridal party!

Do you love this idea too?

Tuesday, February 22, 2011

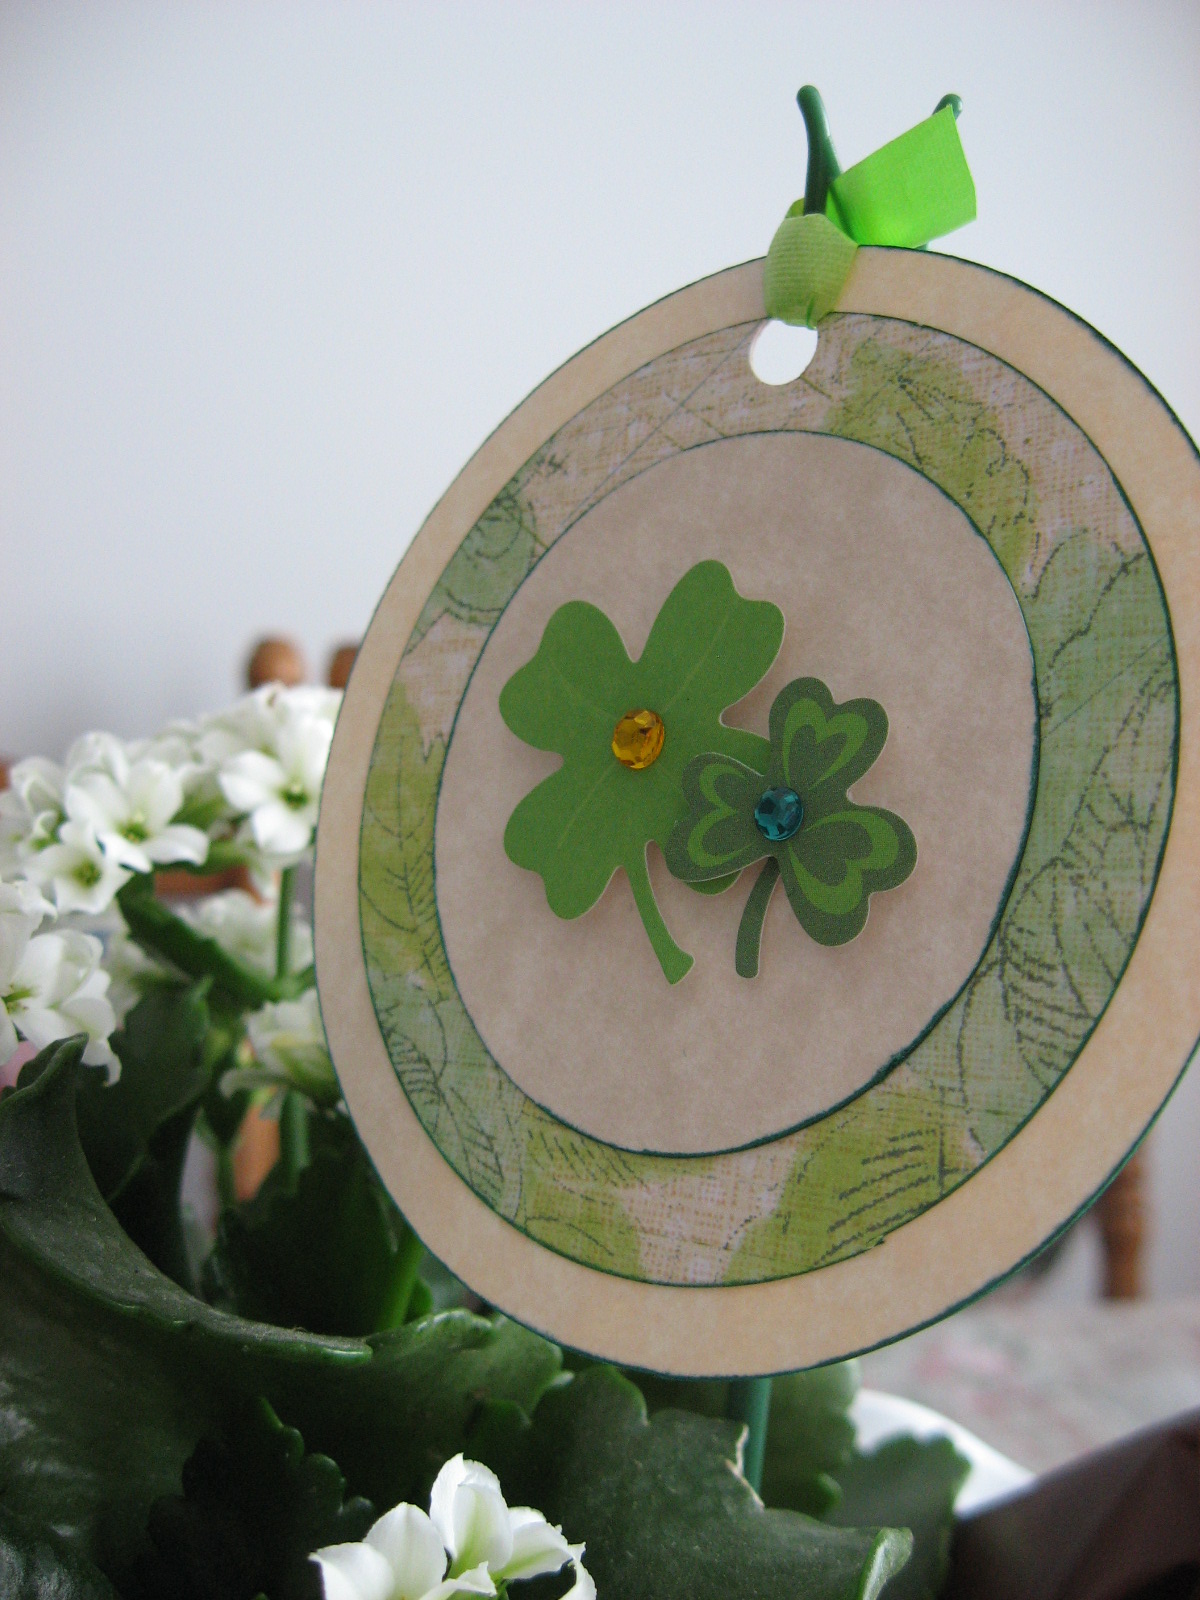
St. Patrick's Day Plant Tag

All of my Valentine's Day decorations have now come down and so this weekend my house was looking a little bare. Rather than mourn the loss of pink and hearts I moved on to green and shamrocks! Since I don't really have a lot of St. Patrick's Day decorations I started improvising yesterday and came up with a way to turn a plant into an Irish-inspired centrepiece. It's as easy as a hanging circle tag!


Chris had recently bought me this plant and I thought the white blooms and green leaves lent themselves to well to St. Patrick's Day decor. I popped the pot into a wavy white bowl and then I made the the tag using three progressively larger circles that I inked around the edges with green marker and then glued together. I finished it off with some shamrock stickers and a bit of green ribbon to tie it to a little stake stuck into the dirt. It's hardly much of anything really but it adds a tiny bit of Irish flair to our table.


I might make some more and give plants as St. Patrick's Day gifts this year :)


P.S. Linking this post up to:

Friday, February 18, 2011

Weekend Antique Hunting

Here in Ontario we're gearing up for a long weekend (Monday is Family Day) and I'm excited to go antiquing on Sunday with my husband. I'm on the look out for specific items because I've got two crafts in mind - both Martha inspired.

First, I'll be looking for old glass bottles that I can turn into this...


These bottles are painted inside with white enamel that turns them different shades of green depending on the tint of the glass. I'm in love! Click here for the really easy how to.

Second, I'll be looking for old postcards, envelopes or advertisements that I can turn into this...


Our home really needs more art and this is such a great way to achieve it. Click here for tips on how to blow up pictures to poster size.

Wish me luck with my search - hopefully I'll have some results to share with you soon. Happy Weekend!

Thursday, February 17, 2011

DIY Paper Rosettes

I've been seeing crafts made out of the pages of books all over blogland and I decided it was time to try one myself. How cute are these paper rosettes?


And they're so easy to make. I used a tutorial from Under the Table and Dreaming and made these three in about 10 minutes while watching TV!

You can make them out of many materials. I made some with scrapbooking paper and I plan to make some out of felt to use on a wreath I'm working on.


These would also be really cute as gift toppers, on a hairband or with a magnet glued on the back and stuck on the fridge. I can't stop making them :)

Wednesday, February 16, 2011

Party Perfect - DIY Boutonnieres

For our wedding last summer I decided to do all of the bouquets, corsages and boutonnieres myself to save money. Since I'd never worked with flowers before I decided silk was the best option because I could make everything ahead of time. Michaels has a great selection of silk flowers and they are always going on sale when the seasons change. I bought everything at 40% off or better! Today I want to show you my DIY boutonnieres. I don't think I would call this a tutorial because they were so simple to do but I'll tell you what I did so you can see just how easy it is to make these yourself!


I started with a bunch of round purple flowers that looked like pom poms. I think there were about 6 blooms on each bunch so that would make 6 boutonnieres (told you I saved money!). Their leaves reminded me of dandelions so I cut the blooms off, each with a bit of stem attached, and tossed the leaves. I wrapped the stem with floral tape to make it dark green. Then, using more floral tape, I attached a leaf from a rose (I used silk roses in my bouquet and didn't need all the greenery) halfway down the stem so that it sat behind the flower. The last step was to tie a bow around the stem with a piece of ribbon and then insert a corsage pin so that guys could attach them to their lapels.

I used the same concept to make corsages for my mom and grandmother. I used two flowers instead of one, added a couple of extra leaves and tied the bow with wider ribbon.


Really easy, right? These were so simple and inexpensive but I have received so many compliments from people when they find out I made them. If you're planning a wedding or other special occasion on a budget then you should really give these a try!

Tuesday, February 15, 2011

Valentine's Day Cards

Ok, ok, I know that Valentine's Day is over but I really wanted to show you the cards that I made this year - mostly to show you how little time and few supplies you need to make cards. And I promise that this will be the last Valentine entry for the year ;)

I made two cards this year. The first was for my parents.


I started with a white card with some embossing around the edges. I bought these 8 for $1 at my local dollar store! Next I glued on a piece of scrapbooking paper that was all pinks and reds in a striped pattern. On top of that I layered two squares of cardstock (from one of those big variety packs) and finished with the XO stickers in the centre and a layered heart sticker in the corner. And that's it! One card, three small pieces of paper/cardstock and two stickers and I think it's quite pretty. Click on the picture for a bigger view.

The second card was for my husband.


Like many men, he's not really into pink and frilly so this is my "manly" Valentine's Day card. I started with a red card made of textured cardstock. I had cut the heart out of that piece of brown paper for another project (and kept the scrap because I never throw paper away!) so I stuck a scrap of polka-dotted paper behind it and then glued it down to the card. The "my valentine" is a sticker from a sheet that I bought on sale for a couple of dollars and then I wrote the "To:" with a red marker.


So I used a cardstock card, two scraps of paper, one sticker and a red marker. It doesn't get easier than that and Chris really liked it.

The best part is that I probably saved my self around $8 by making cards instead of buying them. Do you make your own cards?

Monday, February 14, 2011

By the Batch - V Day Cupcakes

In honour of Valentine's Day I took a break from cookies this weekend and made a batch of pretty pink mini cupcakes to share with family and friends.


The cake part is French Vanilla from a plain old Betty Crocker mix. The buttercream is homemade using the recipe I learned in my Wilton class.

Ingredients:
1 cup vegetable shortening
1 tsp clear vanilla extract (make sure it's the clear kind so you end up with true white icing)
1/8 tsp butter flavour
2 tbsp water
1 lb (approx 4 cups) icing sugar
1 tbsp meringue powder
Pinch of salt

Directions:
Cream shortening, flavoring and water. Add all other ingredients and mix on medium speed until thoroughly mixed together. Blend until creamy.

This recipe yields about 3 cups of stiff consistency icing. For these cupcakes I needed medium consistency so I added water by the tbsp until the icing was thin enough. To tint the icing pink I used gel food colouring.


I used a Wilton 22 tip and piped a swirl on the top of each cupcake, working from the outside in to the centre. Then I sprinkled on some coarse red sugar to finish them off. Easy and delicious - and the mini size makes people feel less guilty about indulging :)


Happy Valentine's Day!